
Room layout and attendee flow should be mapped by starting with attendee behavior, then matching the space to entry, movement, seating, service points, accessibility, production needs, and emergency routes. The goal is not complexity; it is fewer bottlenecks and clearer decisions before the production plan is finalized.
Layout Flow Takeaways
- Map the journey before drawing furniture.
- Check high-friction zones such as entry, registration, food, restrooms, stages, and exits.
- Test the plan with vendors, venue staff, accessibility reviewers, and front-line event staff.
Keyword theme: how to event floor plan layout
Start With Movement Instead of Furniture
A strong floor plan is not just a diagram of tables, chairs, and booths. It is a prediction of how people will move under real event conditions. Attendees arrive in waves, stop to ask questions, turn toward noise, gather near food, hesitate at unclear doors, and avoid areas that feel confusing. Good event floor planning accounts for this behavior before furniture counts become final.
The Core Zones Every Floor Plan Should Show
Start with the attendee journey. Mark arrival, security or check-in, orientation, first decision point, main activity, restrooms, food and beverage, help desk, accessible routes, quiet or support areas, exits, and post-event departure. Then mark staff-only and vendor-only movement, because the cleanest attendee flow can still fail if catering, AV, exhibitors, or speakers must cross crowded public paths.
A Simple Mapping Sequence for Intermediate Teams
Safety guidance from the UK Health and Safety Executive emphasizes clear roles, risk assessment, controls, and active crowd monitoring for event crowd management. For planners, that supports a simple principle: do not design a room that requires improvisation at peak arrival, session change, or departure. Controls should be visible in the layout and understandable to the team working the floor.
Testing Flow Before Production Locks
The mapping sequence can stay lean. First, draw zones. Second, draw attendee routes. Third, add service points. Fourth, add production needs such as power, screens, cameras, sound, pipe and drape, back-of-house areas, and load paths. Fifth, check access and evacuation logic. Finally, test whether the plan supports the event's purpose. Teams managing a community format can connect this to Vendor Negotiation Checklist: What to Review Before Contracts Are Issued.
Common Layout Friction Points
Create one version for planning and one version for day-of use. The planning version can include notes, unresolved questions, measurements, vendor assignments, and revision history. The day-of version should be simpler, with only the information floor staff need quickly. If staff cannot read the plan under pressure, the plan is too complicated for operations.
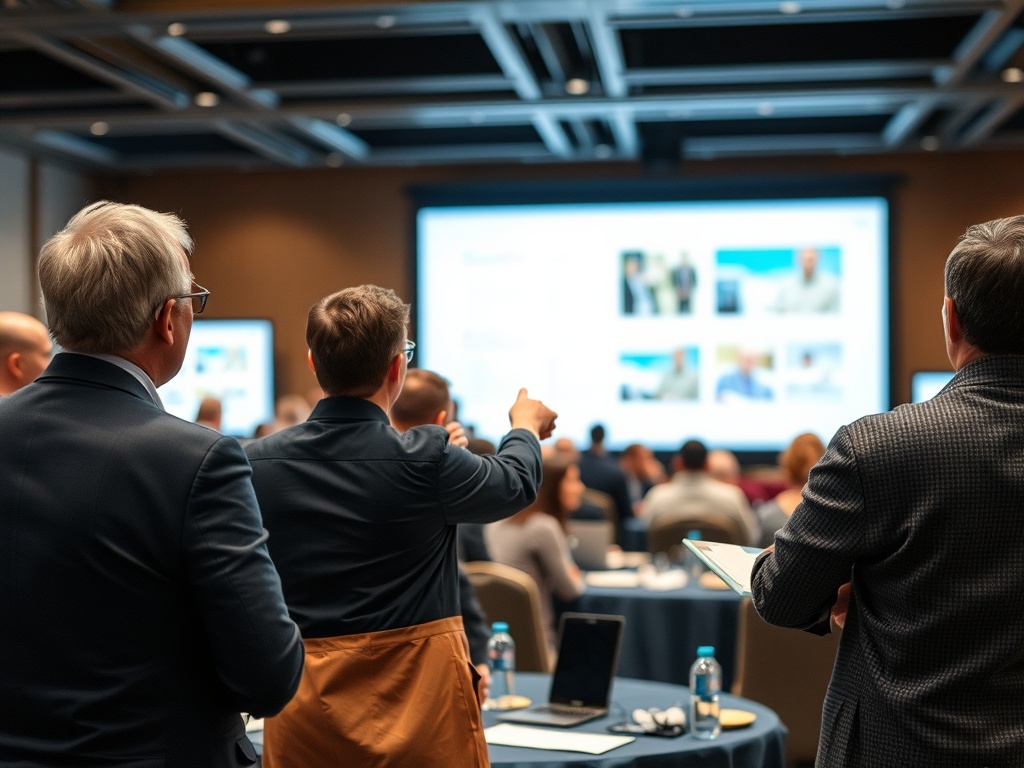
A Room Plan That People Can Actually Use
Test the layout before the production plan is final. Walk the route physically when possible. Ask venue staff what usually causes congestion. Ask accessibility reviewers whether the plan creates avoidable barriers. Ask vendors how long they need for setup and whether their equipment requires staging space. This review is a practical safeguard, not a guarantee that crowd behavior will be perfectly predictable.
Flow-Mapping Checkpoint Table
| Focus | Best-Practice Action | Why It Helps |
|---|---|---|
| Clarity | Name the owner and approval point. | Reduces drift and duplicated work. |
| Timing | Set review gates before public commitments. | Prevents avoidable rework. |
| Experience | Test the plan from the attendee viewpoint. | Finds friction before guests do. |
| Evidence | Keep notes, decisions, and source files. | Improves the next event cycle. |
Practical Quality Check for How To Event Floor Plan Layout
Before the plan is considered ready, review it from three angles: attendee understanding, operational feasibility, and evidence. Attendee understanding asks whether a person can see what the event is, where to go, what to expect, and how to ask for help. Operational feasibility asks whether staff, vendors, venue partners, and technology providers can deliver the promise with the time and resources available. Evidence asks whether decisions are based on confirmed details or assumptions that still need approval.
This quality check is especially useful because events are full of subjective judgments. A room may feel energetic to one planner and crowded to another. A message may feel exciting to marketing and unclear to operations. A vendor proposal may look affordable until overtime and access restrictions are added. Treat these differences as review points, not personal disagreements. The strongest event plans make subjective preferences visible and tie final choices to audience needs, risk, budget, and confirmed constraints.
Venue Walk-Through Questions to Resolve
A final readiness review should be practical rather than ceremonial. Ask one person outside the immediate planning group to read the plan as if they are an attendee, vendor, sponsor, or staff lead. Their job is to identify unclear language, missing ownership, unrealistic timing, or instructions that depend on insider knowledge. This review often finds issues that the core team misses because they have been living inside the project for weeks.
Document every unresolved issue in plain language. Mark whether it is a blocker, a manageable risk, or a preference. Blockers need an owner and a decision date before the next public commitment. Manageable risks need contingency language and staff awareness. Preferences can be logged for later so they do not slow urgent work. This keeps the article's recommendation grounded in responsible event planning rather than false certainty.
The last pass should also check tone and expectation management. Avoid promises that cannot be guaranteed, including fixed entry outcomes, flawless access, automatic refunds, guaranteed attendance, or certain commercial results. Use measured wording when schedules, ticket tiers, vendor availability, venue rules, or participation requirements may change. Readers and attendees trust event content more when it explains limits honestly.
From Diagram to Day-of Confidence
This article is for informational and educational purposes only. It is not legal, financial, travel, immigration, insurance, safety, or contractual advice. Event details, access rules, ticket terms, venue policies, and vendor obligations should be verified directly with official organizers, venues, authorities, and professional advisers before decisions are made.
For a useful next step, turn the article's main checklist into a one-page working document and assign one owner to confirm facts, risks, and dependencies before the next event planning meeting.